Review: DIY Charcoal Peel-Off Face Mask
This DIY Charcoal Peel-Off face mask promises to remove impurities from the skin.
September 20, 2016
DIY (Do It Yourself) is a trend that only keeps expanding as time goes on. Gifts, home décor, life hacks, you name it, there’s a tutorial for it. Recently, one of the most popular DIY tutorials has been a charcoal peel-off face mask.
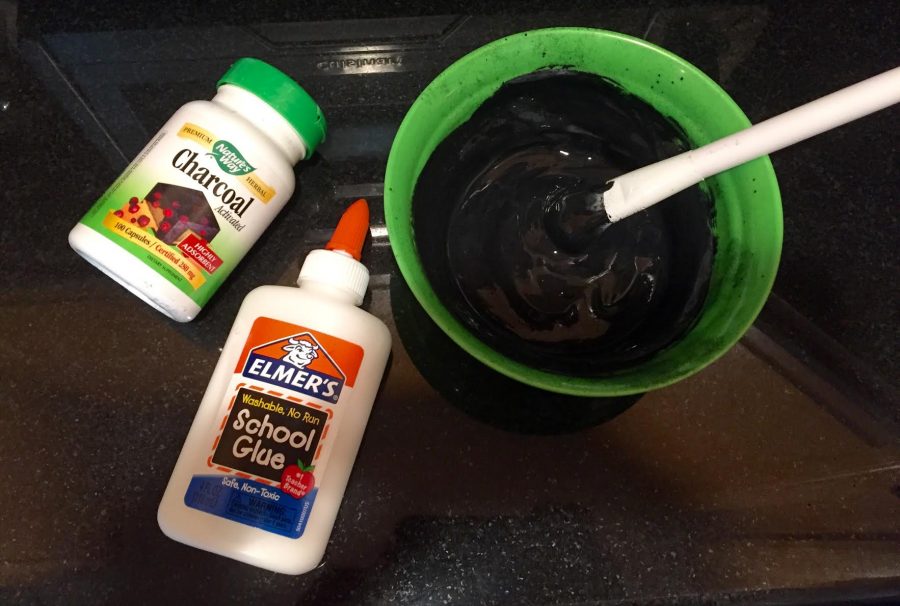
After watching countless YouTube tutorials and researching whether or not this mask is actually safe to put on your face, I decided to try it out. The mask only called for two ingredients, one of which was pretty surprising. The first was activated charcoal. I have tried my fair share of charcoal face masks and they all, including this one, claim to do the same thing – free your pores and draw out all the stubborn impurities in your skin, like blackheads. I purchased Nature’s Way Activated Charcoal capsules (100 count) for $11 from CVS.
The second and most surprising ingredient was Elmer’s School Glue. Yes, you heard it right. You must be thinking, how can lathering your face up with glue be safe? Well, I thought the same thing, hence the extensive research, and I found that it is safe because Elmer’s School Glue is non-toxic. Still, the thought of putting glue all over my face sounded like a painful endeavor but hey, beauty is pain, right? I purchased Elmer’s School Glue from CVS for $3.
Here comes the fun part – making the mask. The first thing you’ll need is a bowl. Then, take three capsules, twist off the tops from the bottoms and deposit the charcoal into the bowl. It doesn’t seem like much but trust me, a little goes a long way. Next, you’ll need about four tablespoons of glue (less if you only planning on applying the mask to only problem areas and not the entire face). Finally, you mix the ingredients with the brush and then apply it to a clean face. When applying, it’s important to avoid any areas with hair, like your eyebrows and lip. Remember, you are putting glue on your face, so unless you want to cry while peeling off your mask, avoid areas with too much hair.
I applied a generous layer and waited 30 minutes for it to dry. While I was waiting, I noticed that the glue made my face unmovable within 10 minutes. It was not itchy, it did not sting, and when the time came, it peeled off pretty easily. It became a bit painful once I got to the area around my nose. It felt like ripping off a Band-Aid.
I was very anxious to see the results but, I wasn’t that impressed. It removed a lot of impurities, which were visible on the remnants of the mask, and left my skin feeling very soft. However, it didn’t totally remove the really stubborn ones around my nose. It also left certain areas of my skin red for about an hour after removing the mask and washing my face.
Would I recommend this DIY mask? No, I would not. There are plenty of affordable drugstore products that work better, like Biorè Charcoal products. Keep in mind that everyone’s skin is different so this mask may work for you. You can’t knock it until you try it.


